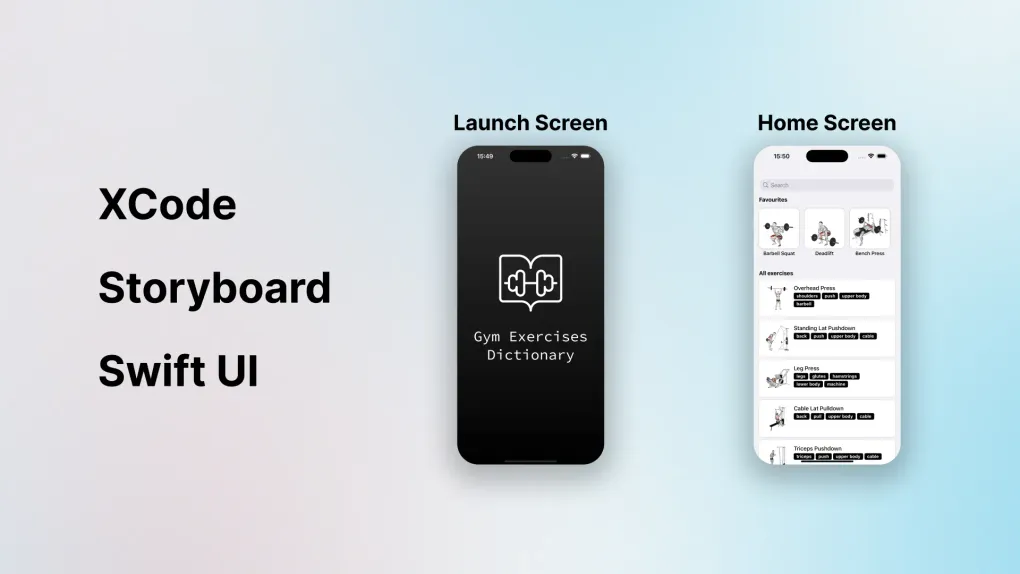
A hidden trick to add a Launch Screen in SwiftUI
If you ever search for solutions of adding Launch Screen to an iOS app, there’ll be 2 main approaches: using storyboard (Apple’s recommendation), programmatically control UI based on active state. This post’s about the first one, because of its effectiveness.
From Apple developer document, first step is creating a new file - LaunchScreen.storyboard. After that, you have options of:
Option 1 - Add new item with key UILaunchScreen to Info tab

- In the settings for your target, select the Info tab.
- In the Custom iOS Target Properties section, expand the
Launch Screenkey. - Click the Add button (+), type in UILaunchScreen, and press Return to add the launch screen key to the property list. If the UILaunchScreen key is already present, you can skip this step.
- Select the UILaunchScreen key, click the Add button (+), then enter
UILaunchStoryboardNameas key andLaunchScreenas value.
If the launch screen added successfully to your app, congratulation! However, this approach does not work for me.
Option 2 - Configure a launch screen storyboard

- In the settings for your target, select the General tab and find the “App Icons and Launch Images” section.
- From the Launch Screen File pop-up menu, choose the new launch screen file.
This option may work for you, but this does not work for me too.
My approach - Add Launch screen interface file base name to Info tab

- In the settings for your target, select the Info tab.
- In the Custom iOS Target Properties section, find the
Launch screen interface file base namekey. - If you don’t have this key in your project yet, just click (+) on any other key to add this.
- Enter your launch screen file name, for me it’s LaunchScreen.
Tada 🎉 This time it works.
Not sure why Apple doesn’t mention this option in their document (maybe it’s not up to date?), but I haven’t found this trick anywhere on Internet. So I decide to share it, hope it will help someone.
Happy coding!
Thanks for reading